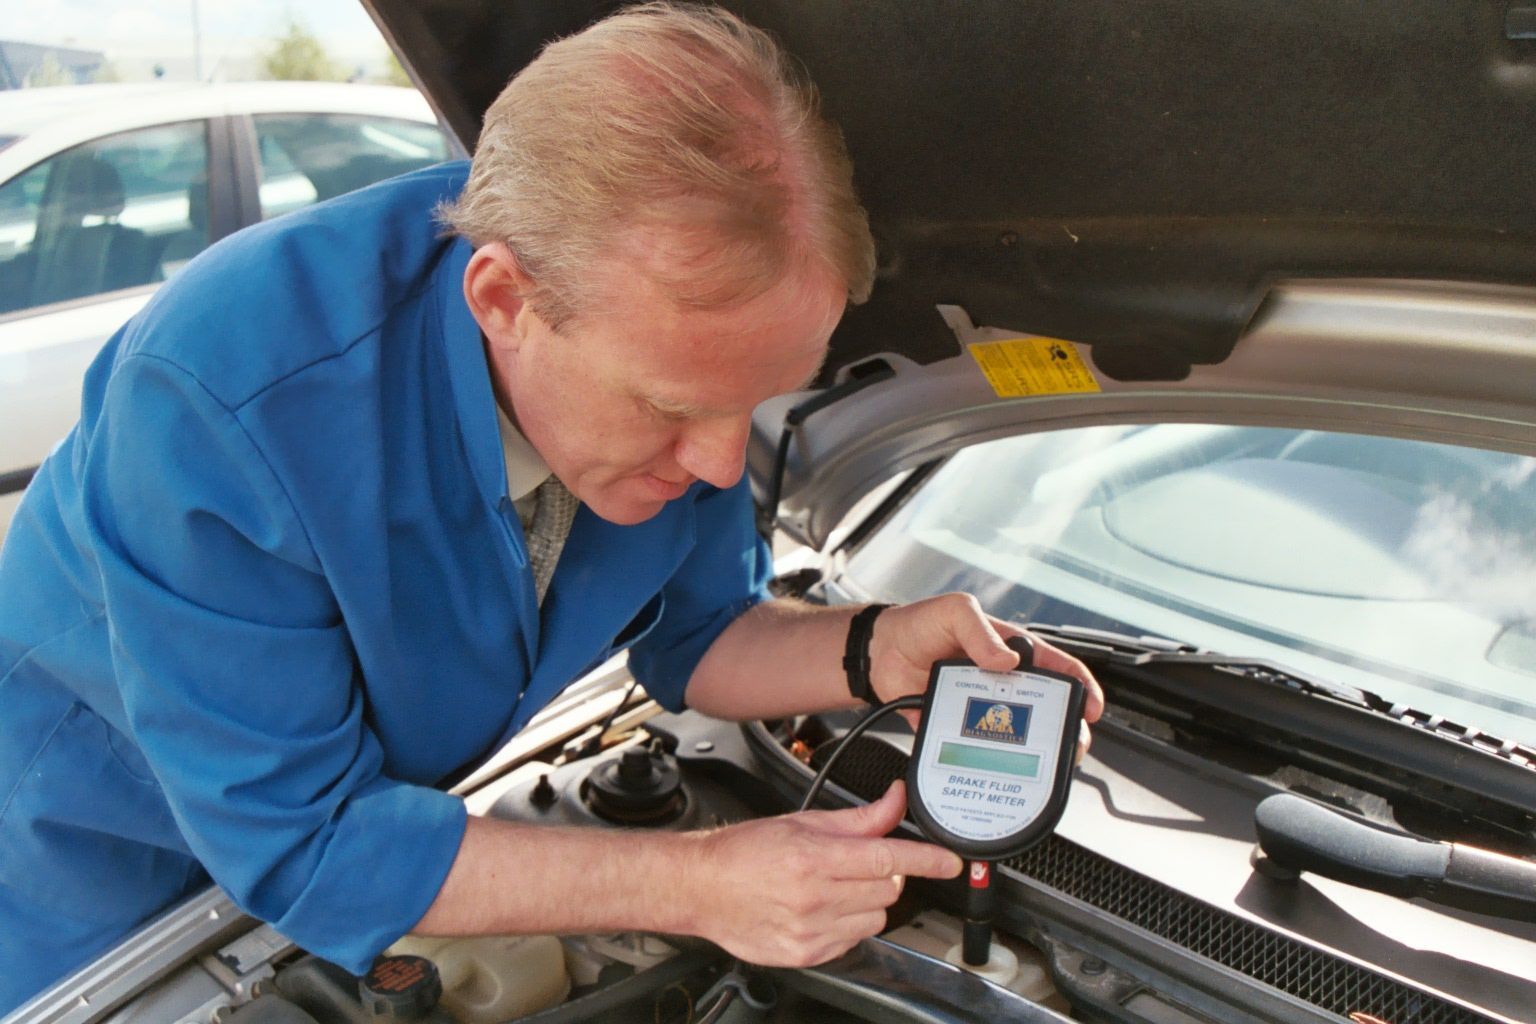
Your vehicle's braking system is a critical component of its safety. To keep it functioning properly, you must check and top up your brake fluid regularly. Brake fluid is a type of hydraulic fluid that transfers force from the pedal to the brake pads. We will walk you step-by-step through the process of checking and topping up your brake fluid.
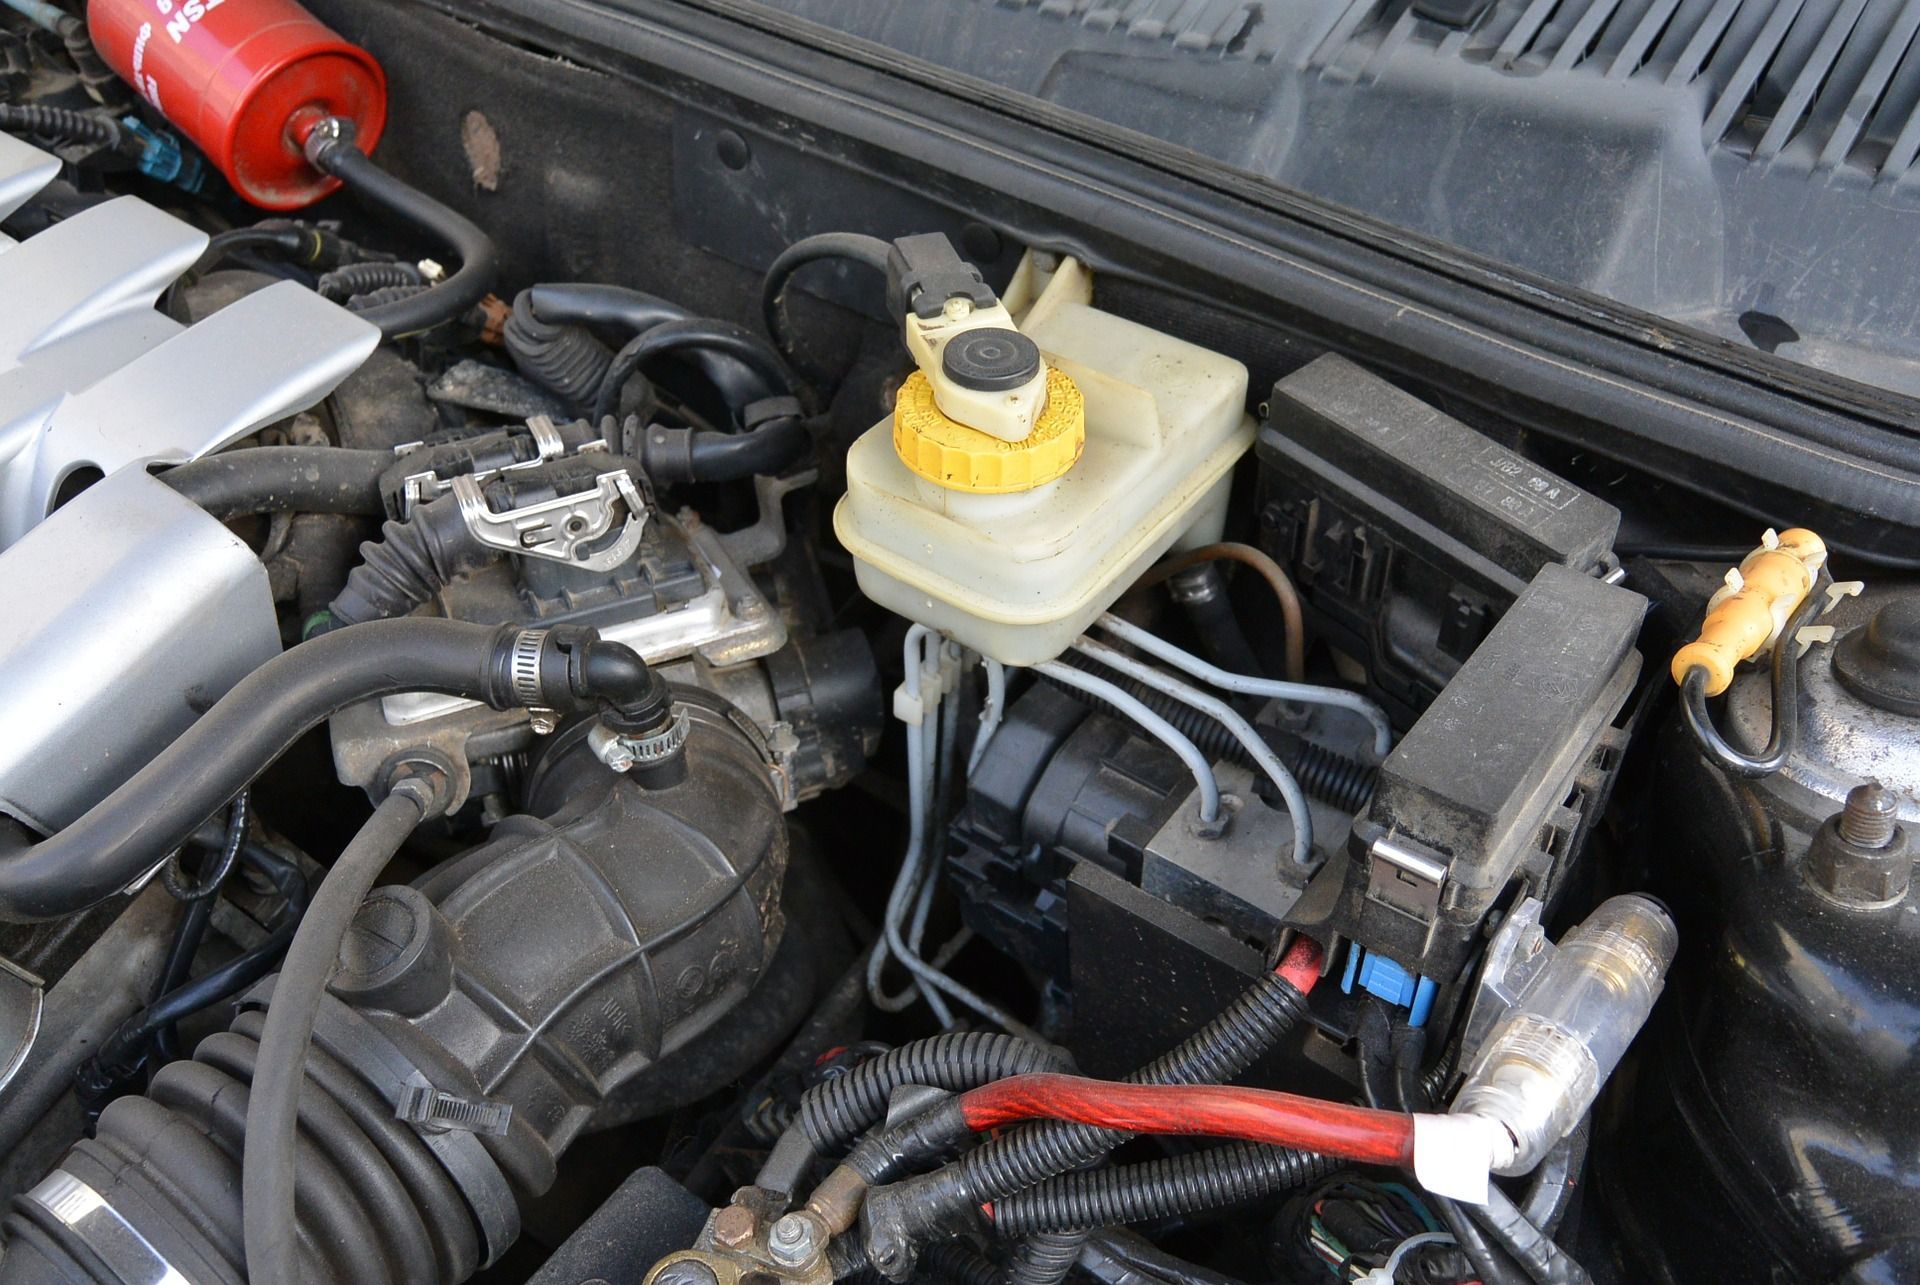
Step 1: Locate the brake fluid reservoir
The brake fluid reservoir is typically located on the driver's side of the engine compartment. It is a small, translucent plastic container with a cap that says "brake fluid" on it. If you are uncertain, consult your vehicle's manual or contact your local mechanic.
Step 2: Check the brake fluid level
Remove the cap from the brake fluid reservoir, and check the level of the brake fluid. You can do this by looking at the side of the reservoir, which will have "min" and "max" lines. If the fluid is below the "min" line, it's time to top up.
Step 3: Top up brake fluid
Before topping up brake fluid, ensure that you use the correct type of fluid. Vehicles require different types of brake fluid, and using the wrong type could damage your braking system. Consult your vehicle's manual or contact your local mechanic for advice on the correct type of brake fluid.
Slowly pour the brake fluid into the reservoir until it reaches the "max" line. Take care not to overfill the reservoir, as this could cause the fluid to overflow and damage surrounding components.

Step 4: Conduct a brake fluid test
After topping up brake fluid, conduct a brake fluid test. Pump the brake pedal a few times, then hold it down. If the pedal becomes spongy or goes all the way to the floor, it's time to bleed the braking system or have a mechanic check it out.
Step 5: Regularly check and change your brake fluid
It's essential to check your brake fluid regularly, at least once every six months, to ensure that it's at the correct level. Additionally, we recommend replacing your brake fluid every two years or as advised by your vehicle's manual.
